![SkyTrak_Logo-1000.png]](https://resources.skytrakgolf.com/hs-fs/hubfs/SkyTrak_Logo-1000.png?height=22&name=SkyTrak_Logo-1000.png)
*NOTE: By default the projector menu will time out after ten seconds without movement. You can turn this off by navigating to:
Menu  >Setup
  >Menu Settings>Menu Timer>Off
1. Set projection orientation
Upon turning on the projector for the first time you should be asked to set the projection orientation and language.
For Ceiling and Pole mounts, the options will look like this. Hover over and click the highlighted option to set the orientation correctly. Make sure to press the middle button twice to accept the changes. 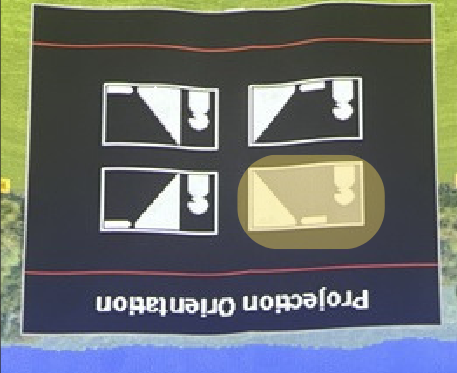
If you have proceeded past this initial setup and the orientation is still wrong, the following steps will get you back to the above page:
-Press the Menu button on the projector remote
-Press the Down button once, then the middle button to enter the Display subcategory
-Press the middle button once more, then hover over the icon with the projector on the same side of the screen as the person, with the projector over their head shown above.
For floor mount projectors, the projection orientation will be set correctly by default, so this menu should be right-side-up. The icon on the bottom left will keep the projection orientation the same.
2. Connect your source
Use an HDMI cable (included) to connect your PC or iPad to the projector.
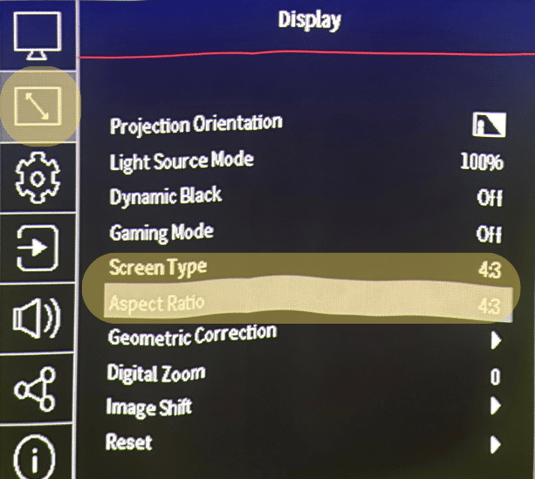
3. Set Screen Type & Aspect Ratio
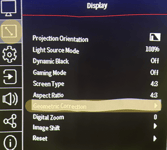
Click Settings > Display > Screen Type > and select the size
For PC, use 4:3. For iPad and tablets, use 16:9
Then, do the same for Aspect Ratio.
4. Adjust vertical and horizontal keystone
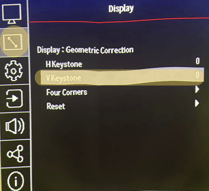
The H and V Keystone settings help compensate for any tilt of the image on the Z axis (if the picture is wider on one side than the opposite, making it a rhombus).
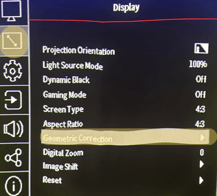
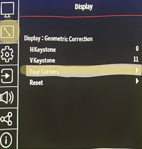
CEILING/POLE MOUNT: You’ll notice the projector image is wider than the impact screen, particularly at the top. Click Display > Geometric Correction > V Keystone. Adjust V Keystone until the image appears flat on the impact screen. +11 is commonly what projectors are set to.
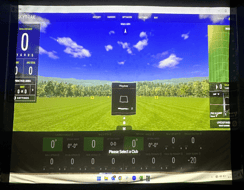
5. Adjust four corners
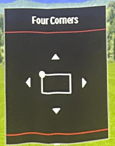
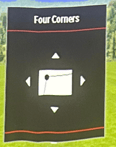
Click Display > Geometric Correction > Four Corners and adjust each corner
Select each corner by clicking the enter button on the remote. Once selected, the
image will turn white and highlight what corner you’re adjusting. Drag in each
direction as needed. Repeat for each corner. When you're done with one corner's adjustment, you'll see a preview of the image. You must press the ENTER button on the remote an additional time to finalize the change, otherwise the menu may time out while you're still looking at the preview and revert to default.
With the pole mount, there is a small vertical gap. You can have this at the top, bottom or a very small amount of both by using image shift in the display settings and/or physically tilting the projector.
If you want 100% screen coverage, as you’ll need to increase the throw distance by moving the projector further from the screen. This can be accomplished by utilizing a ceiling mount, protective floor case, or a projector stand